-
Creating a new blog post in Emacs
Now that my blog is based on markdown text files, some new tooling options have opened!
- entire blog is under source control (done)
maketargets for common actions (e.g. create new post, deploy, serve dev version) (done)- git hooks for publishing (need to think about this more)
- blogging via emacs! (done!)
I just wrote this function to create a new posts file and open a buffer for editing it. In fact, it’s how I’m editing this post right now!
(defun new-blog-post ()
  (interactive)
  (let ((post-title (read-string "Enter new post title: ")))
    (let* ((posts-dir "/ssh:vps:~/projects/blog/_posts/")
           (clean-title (replace-regexp-in-string
                         "[^[:alpha:][:digit:]_-]"
                         ""
                         (s-replace " " "-" (downcase post-title))))
           (new-post-filename (concat
                               (format-time-string "%Y-%m-%d")
                               "-"
                               clean-title
                               ".md"))
           (frontmatter-template "---\nlayout: post\ntitle: {title}\ndate: {date}\n---\n\n")
           (frontmatter (s-replace "{date}"
                                   (format-time-string "%Y-%m-%d %H:%m %z")
                                   (s-replace "{title}"
                                              post-title
                                              frontmatter-template)))
           (new-post-file (expand-file-name new-post-filename posts-dir)))
      (if (file-exists-p new-post-file)
          (message "A post with that name already exists.")
        (write-region frontmatter nil new-post-file)
        (find-file new-post-file)))))
This was also the first elisp function I wrote :)
-
under construction
I was having some headaches with my existing shared hosting provider, so I decided to move this site to a VPS. I also didn’t want to run a LAMP stack, so I’ve moved this blog from WordPress to Jekyll. Please pardon the appearance as I find time to iron things out.
-
How to set up free SSL on shared-hosting with Let’s Encrypt
I just updated this domain to use HTTPS with Let’s Encrypt as a certificate authority. Presently this site is on a shared-hosting provider and I had to generate a cert manually and then upload it. Here are instructions for doing that.
Note: some shared-hosting providers may offer a way to automatically generate and install a Let’s Encrypt (or other CA) certificate directly through the cPanel. I’d recommend doing that if it’s an option :)
First, download and install
certbot. On a separate computer (i.e., not the website host), runcertbotto generate a certificate:brew install certbot mkdir ~/letstencrypt && cd ~/letstencrypt/ certbot --config-dir . --work-dir . --logs-dir . certonly --manualAfter displaying some prompts,
certbotwill produce a challenge string and ask you to upload a file to your host containing that content (using thehttpchallenge). This is to prove control of the website.On the host, create the file as instructed. E.g. copy the challenge text, then:
pbpaste > challengefile
ssh myhost 'mkdir -p ~/public_html/.well-know/acme-challenge/'
scp challengefile myhost:~/public_html/.well-known/acme-challenge/rPs-CyPusl...
Then, confirm you’ve uploaded the file and complete the
certbotsetup to create the certificate. There will be alivedirectory containing the generated certificate and secret.live └── my-website.com ├── README ├── cert.pem -> ../../archive/my-website.com/cert1.pem ├── chain.pem -> ../../archive/my-website.com/chain1.pem ├── fullchain.pem -> ../../archive/my-website.com/fullchain1.pem └── privkey.pem -> ../../archive/my-website.com/privkey1.pemCopy the contents of
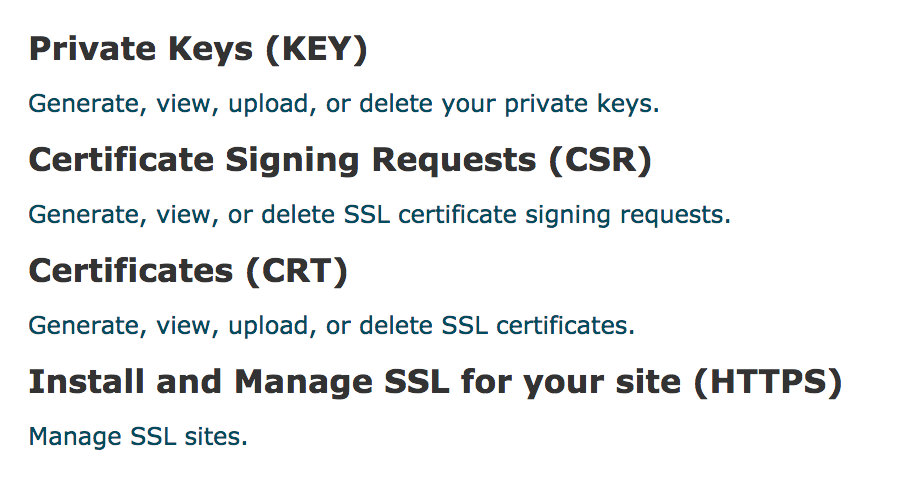
fullchain.pemand paste them into the certificate text box of your cPanel’s SSL configuration settings or upload the certificate file directly.
Finally, install the certificate and upload
privkey.pem.Once the process is complete the challenge file can be removed from the server. You should now be able to access your domain over
https. -
Assuming an IAM role from an EC2 instance with its own assumed IAM role
In AWS IAM’s authentication infrastructure, it’s possible for one IAM role to assume another. This is useful if, for example, a service application runs as an assumed role on EC2, but then wishes to assume another role.
We wanted one of our applications to be able to get temporary credentials for a role via the AWS Security Token Service (STS).
In our application (Clojure) code, this looked something like:
(defn- get-temporary-assumee-role-creds []
  (let [sts-client (AWSSecurityTokenServiceClient.)
        assume-role-req (-> (AssumeRoleRequest.)
                            (.withRoleArn "arn:aws:iam::111111111111:role/assumee")
                            (.withRoleSessionName "assumer-service"))
        assume-role-result (.assumeRole sts-client assume-role-req)]
    (.getCredentials assume-role-result)))
This code is running as role
assumerand wants to assume IAM roleassumee.The
assumerrole must have an attached policy giving it the ability to assume theassumeerole:{ "Version": "2012-10-17", "Statement": [ { "Sid": "", "Effect": "Allow", "Action": "sts:AssumeRole", "Resource": "arn:aws:iam::111111111111:role/assumee" } ] }And, importantly, the
assumeerole must have a trust policy like:{ "Version": "2012-10-17", "Statement": [ { "Sid": "", "Effect": "Allow", "Principal": { "AWS": "arn:aws:iam::111111111111:role/assumer" }, "Action": "sts:AssumeRole" } ] }The above trust policy is for the
assumeerole and explicitly grants theassumerrole the ability to assume theassumeerole (whew).Without the roles and policies properly configured, it isn’t possible to assume the role. An example error:
assumer-box$ aws sts assume-role --role-arn arn:aws:iam::111111111111:role/assumee --role-session-name sess A client error (AccessDenied) occurred when calling the AssumeRole operation: User: arn:aws:sts::111111111111:assumed-role/assumer/i-06b6226fe698e565e is not authorized to perform: sts:AssumeRole on resource: arn:aws:iam::111111111111:role/assumee -
Python environment with Pipenv, Jupyter, and EIN
Update 4/2019: This post gets a lot of traffic, so I wanted to note that the Python tooling described herein isn’t exactly what I’d recommend anymore. Specifically, I’d probably recommend Poetry over Pipenv if you need pinned dependencies, and maybe just
pipandvirtualenvif you’re developing a library or something small / local. I also haven’t used EIN much. Here’s a good post about Python tooling.Lately I’ve been using more Python, and I think I’ve arrived at a decent workflow. Clojure opened my eyes to the joy and power that interactivity and quick iteration bring to programming, and while Python’s interactive dev experience doesn’t feel quite as seamless as Clojure’s, Jupyter/IPython Notebook and the Python REPL are nice.
Here I’m going to talk about setting up a Python development environment using Pipenv, and then interactively developing within that environment using Jupyter. This workflow is focused on robust dependency management/isolation and fast iteration.
My development needs might not necessarily align with the needs of a Django developer or a sysadmin using Python. I’ve mostly been using Python to write API data extraction scripts for work, and machine learning applications for grad school. This setup also works nicely with tools I’m already using (Ubuntu/macOS and Emacs). I haven’t used PyCharm, but I’ve heard good things about it (and I like JetBrains). Another Python thing worth checking out is the popular Anaconda data science platform.
Pipenv
Pipenv is a Python dependency manager. Functionally, it’s a combination of pip and virtualenv. It’s officially recommended by Python.org. It’s used it to install and keep track of required project dependencies and keep them isolated from the rest of the system.
It’s easy to install using pip or Homebrew:
brew install pipenv # using Homebrew on macOSAnd creating an empty Python3 environment is straightforward:
$ mkdir helloworld
$ cd helloworld/
$ pipenv --three
A basically empty
Pipfileis created:[[source]] url = "https://pypi.python.org/simple" verify_ssl = true name = "pypi" [packages] [dev-packages] [requires] python_version = "3.6"Let’s install some libraries:
$ pipenv install pandas numpy matplotlibOur
Pipenvfile now has the required libraries listed:[[source]] url = "https://pypi.python.org/simple" verify_ssl = true name = "pypi" [packages] pandas = "*" numpy = "*" matplotlib = "*" [dev-packages] [requires] python_version = "3.6"You’ll also notice a file called
Pipfile.lockhas been created – this is a record of the whole dependency graph of the project. It should be checked into source control, as Pipenv can use it to ensure deterministic builds.The
pipenv graphcommand lists these inter-library dependencies in a more readable way:$ pipenv graph matplotlib==2.1.2 - cycler [required: >=0.10, installed: 0.10.0] - six [required: Any, installed: 1.11.0] - numpy [required: >=1.7.1, installed: 1.14.0] - pyparsing [required: >=2.0.1,!=2.1.6,!=2.0.4,!=2.1.2, installed: 2.2.0] - python-dateutil [required: >=2.1, installed: 2.6.1] - six [required: >=1.5, installed: 1.11.0] - pytz [required: Any, installed: 2017.3] - six [required: >=1.10, installed: 1.11.0] pandas==0.22.0 - numpy [required: >=1.9.0, installed: 1.14.0] - python-dateutil [required: >=2, installed: 2.6.1] - six [required: >=1.5, installed: 1.11.0] - pytz [required: >=2011k, installed: 2017.3]Once our environment is set up, we can begin using it. To spawn a new shell using the Pipenv environment:
pipenv shell.$ pipenv shell Spawning environment shell (/bin/bash). Use 'exit' to leave. bash-3.2$ source /Users/m/.local/share/virtualenvs/helloworld-6Ag-sbDH/bin/activate (helloworld-6Ag-sbDH) bash-3.2$ python Python 3.6.4 (default, Jan 6 2018, 11:51:59) [GCC 4.2.1 Compatible Apple LLVM 9.0.0 (clang-900.0.39.2)] on darwin Type "help", "copyright", "credits" or "license" for more information. >>> import pandas as pd >>> pd.__version__ '0.22.0'Cool. But how about if we want to execute a script?
$ printf "import pandas as pd\nprint(pd.__version__)" > myscript.py
$ pipenv run python myscript.py
0.22.0
Note that this won’t work if we attempt to invoke the script outside of the virtual environment, since the
pandasdependency is isolated to the environment we just created:$ python myscript.py Traceback (most recent call last): File "myscript.py", line 1, in <module> import pandas ImportError: No module named pandasThis is good and desirable – it means that if we’re developing another Python program on this system that depends on a different version of the
pandaslibrary, we won’t be subject to nuanced dependency bugs that can be difficult to find and correct. And if a colleague is working on this same project on another system, we can both rely on our environments being the same.Jupyter
Project Jupyter and the IPython Notebook are tools used for interactive programming (that’s what the “I” in “IPython” stands for). Jupyter supports other language kernels like R and Ruby as well.
We can install Jupyter easily within our Pipenv environment:
$ pipenv install jupyterIt’s also possible to create an IPython kernel from this environment and give it a name:
$ pipenv run python -m ipykernel install --user --name mygreatenv --display-name "My Great Env"The notebook can be started by using
pipenv run:$ pipenv run jupyter notebookWhich will serve the notebook software locally and open it in a browser.
I won’t go into actually using Jupyter Notebook for interactive Python development, but it’s fairly intuitive and is well-suited for experimentation.

Emacs IPython Notebook
Today I played with an Emacs plugin called Emacs IPython Notebook to be able to connect directly to an IPython notebook kernel and evaluate code within Emacs. At first glance there are commands for most of the functions offered in the browser-based UI.
It took a bit of trial and error and internet-searching to figure out how to connect to the notebook server. When Jupyter Notebook starts, it generates a token used to authenticate a client connecting to the server. This token can be entered at the password prompt when running
ein:notebooklist-login. Once authenticated, the commandein:notebooklist-openshows the current Notebook server’s file list, and lets you create or connect to a notebook.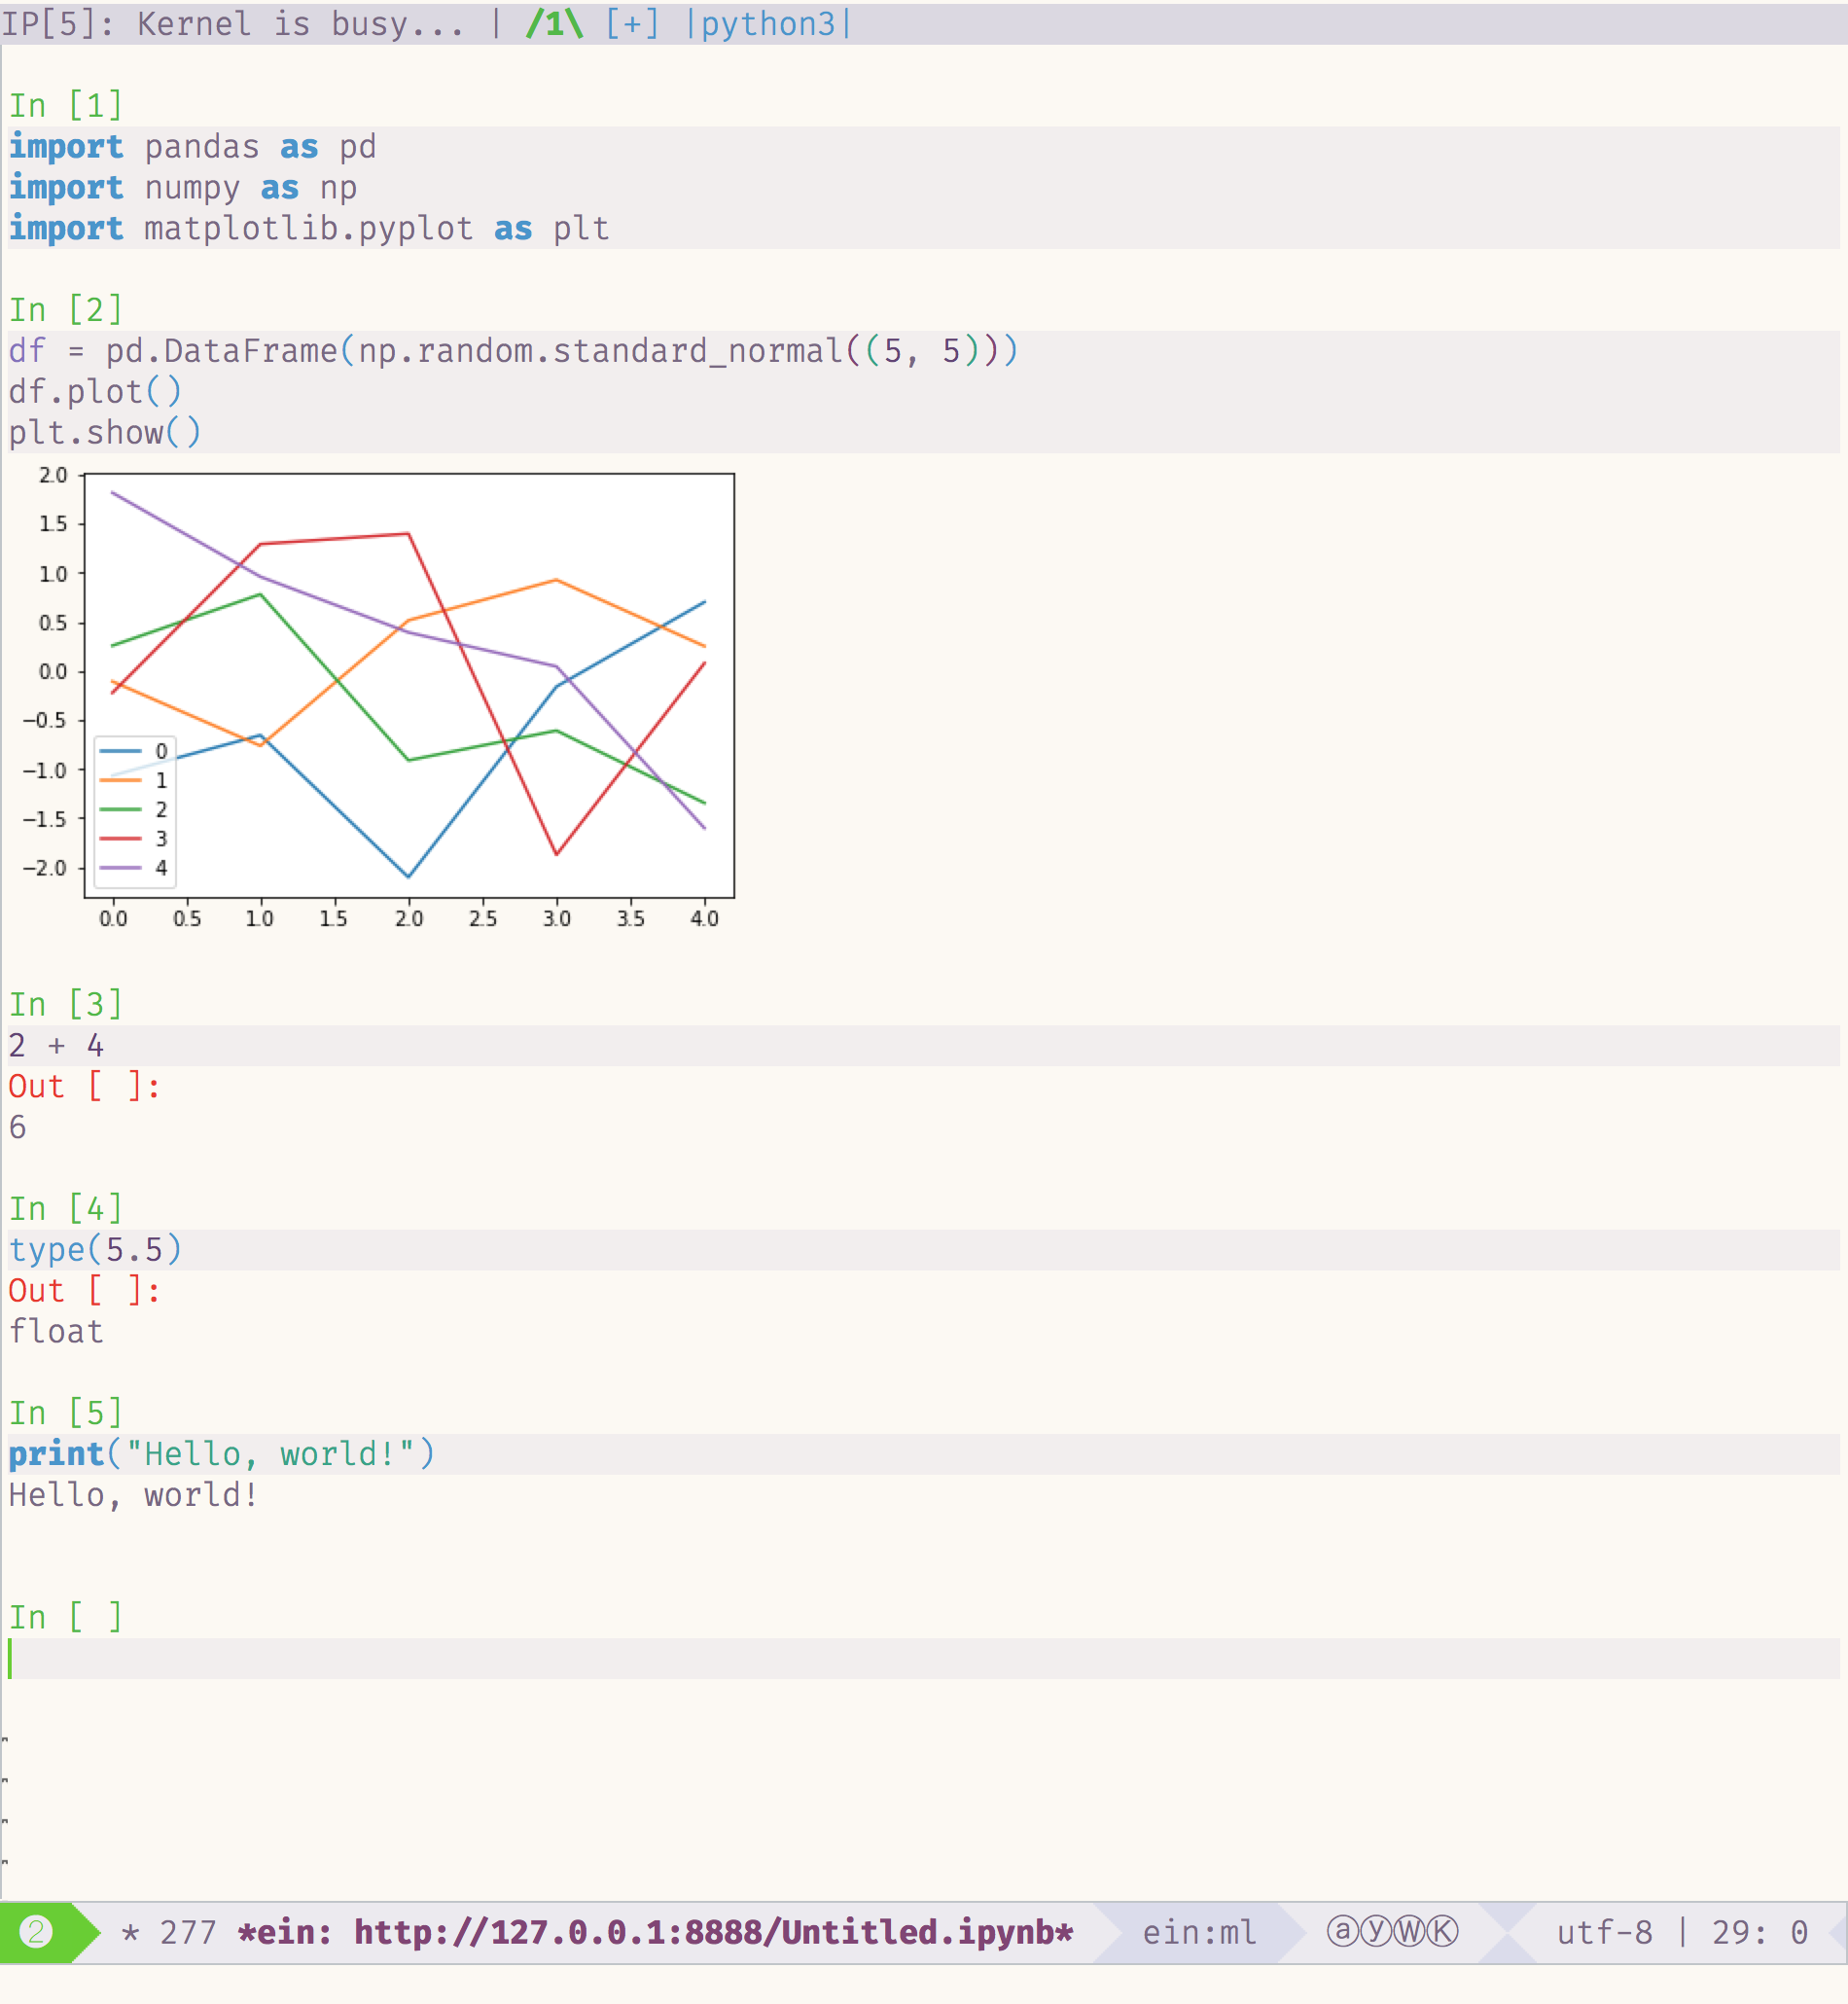
I had been using the web-based UI with the jupyter-vim-binding extension for a short period, but I may switch over to Emacs + EIN. It’s nice to be able to introduce new tooling into an ecosystem you’re already comfortable in.